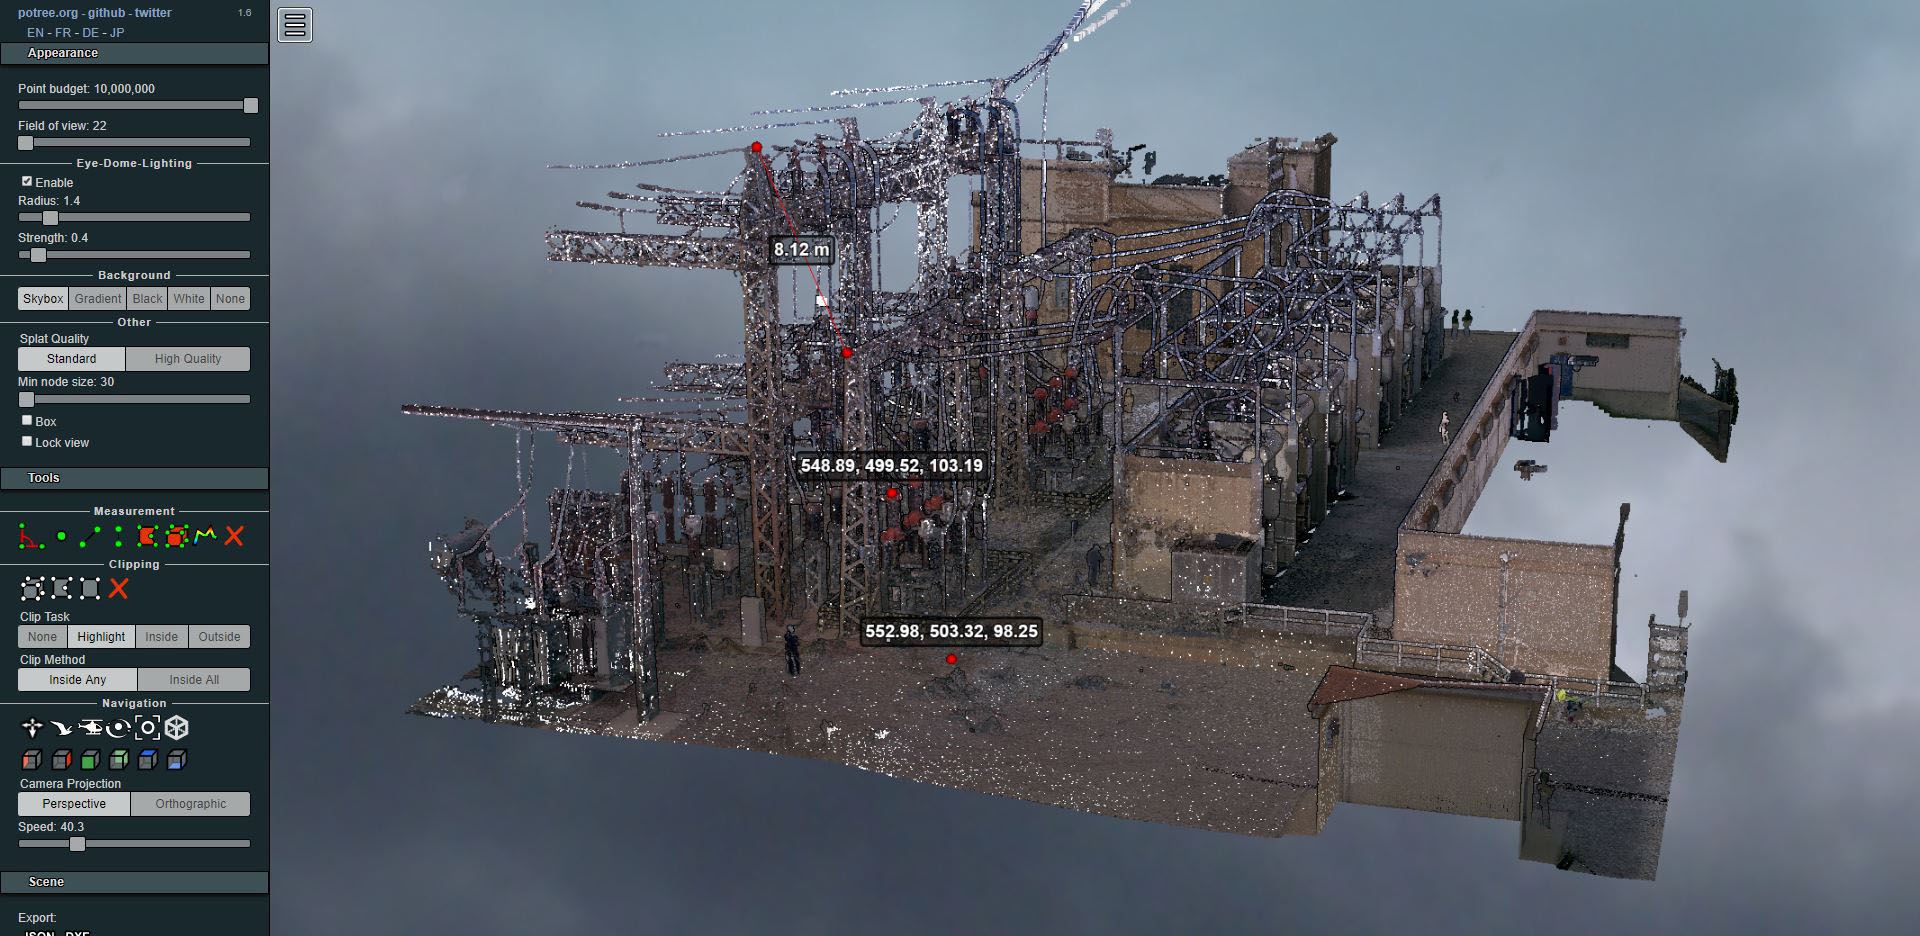
Laser scanning of an electrical substation
- Uncategorized


When a polygon lease is commissioned, the project's reality, the sold and registered areas, the built reality, the actual areas, the lease itself, and its durability all come together…
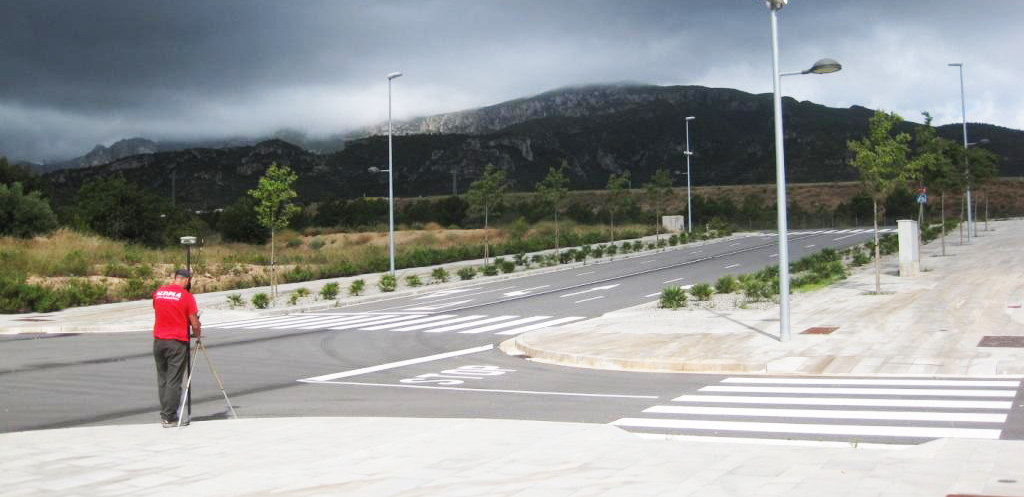
Rental is often presented as a formality that a construction company or developer must complete before handing over the finished work, but we know from experience that if it's not done properly, problems will arise sooner or later, whether at the time of launching a new project—when we may find a mismatch between the plan accompanying the sale and the actual site—or from the absence of boundary markers. In the latter case, it can happen that the first person to install their fence, if not done rigorously, can condition the buildability or access of neighboring lots.
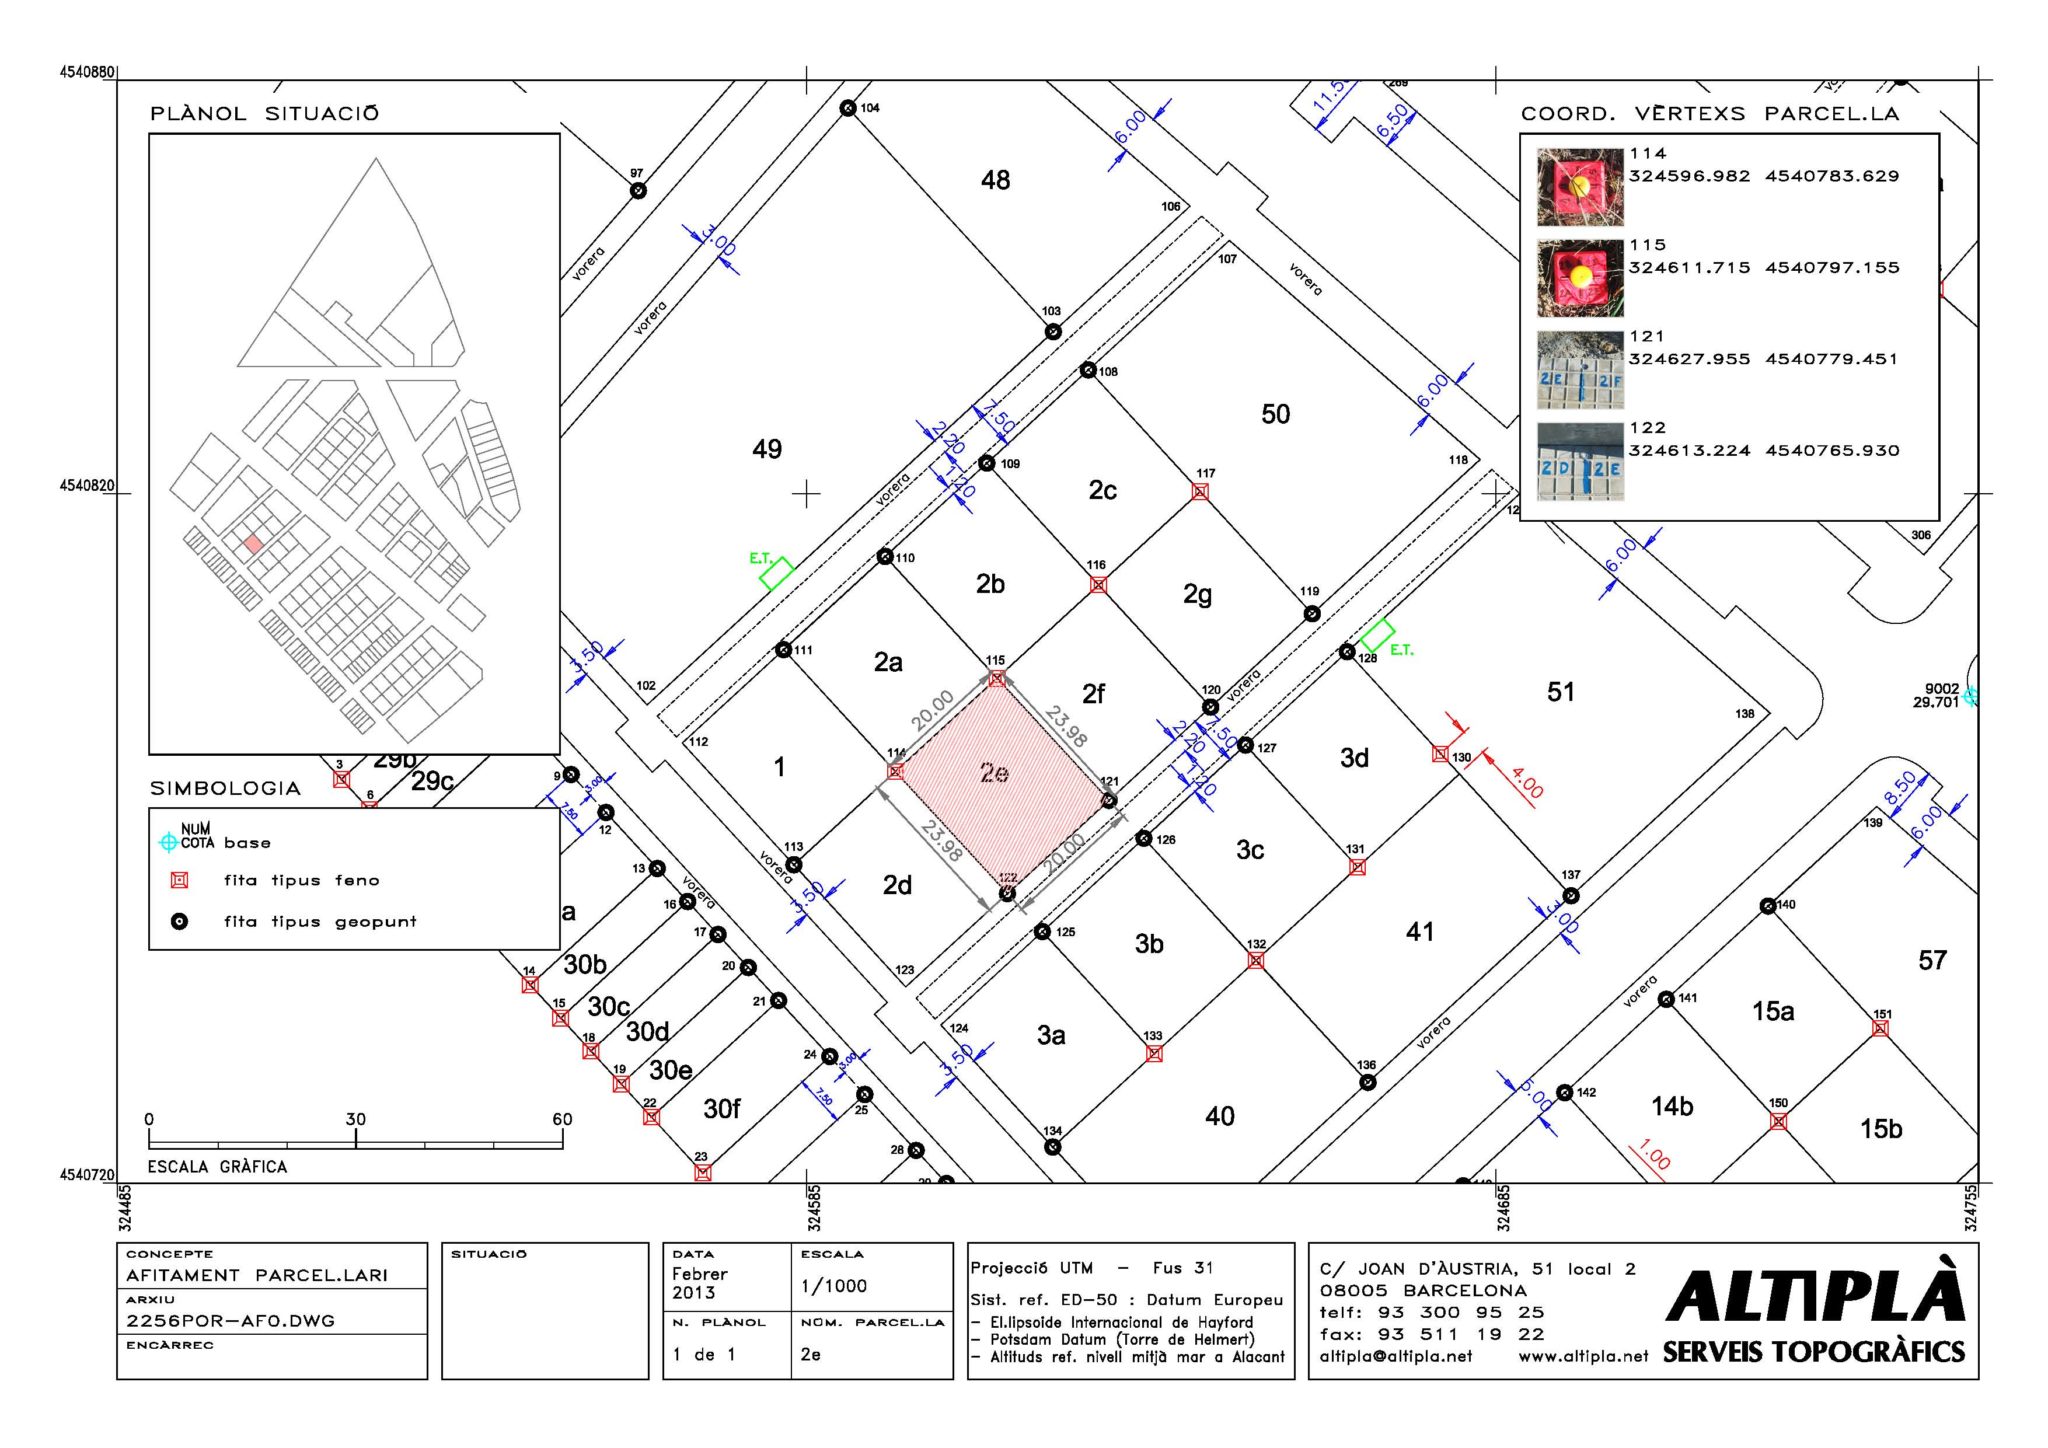
In the case at hand, we will explain the process of reviewing the roads, reviewing the parcels, installing benchmarks, and generating the purchase-and-sale plan.
Thus, the first step has been to carry out a as-built topographic survey, collecting data on all sidewalks, since the project-defined widths will determine both the actual dimensions of the lots and the lot frontage alignment where the corresponding benchmarks must be placed.
At this stage of the work, we decide to leave some benchmarks distributed throughout the site, which will serve to maintain the same reference system for all the work, as well as for any construction projects carried out afterward.
The parcel layout as per the project is overlaid on the topographic survey and adjusted to the actual conditions, with the primary goal of preserving the parcel's characteristic features, such as fixed sidewalk widths, minimum lot frontage and surface area review, notifying the property owner in cases where the variation exceeds the minimums established for each case (which are usually between 1% and 5%). In general, these tend to be small but necessary adjustments.
With approval from the property owner or the project architect for the parcel re-survey, we prepare the list of coordinates and enter it into the GPS. We will carry out the re-survey using RTK with a reference base, with centimeter-level accuracy, always verifying the benchmarks installed during the topographic survey phase. We proceed with the re-survey by marking with paint each of the points where benchmarks will be placed, even those that, due to the presence of elements such as trees or existing structures, will need to be shifted along the alignment.
It's time to choose the type of stake, a choice we'll make based on its price, installation difficulty, or durability.

For sidewalks, we almost always choose GEO-POINT type anchors, which are quick to install with a self-drilling drill.
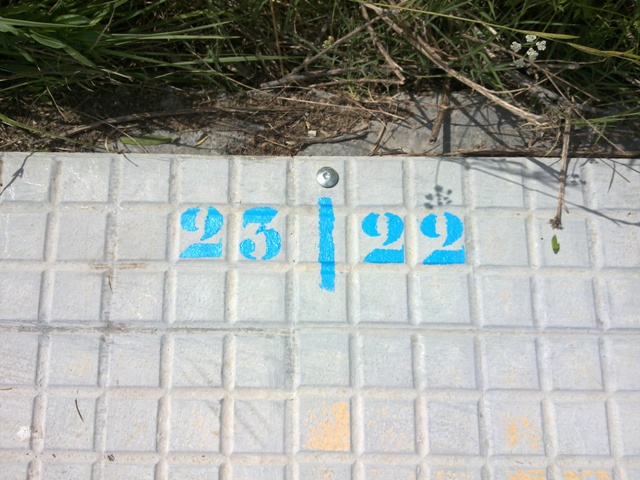
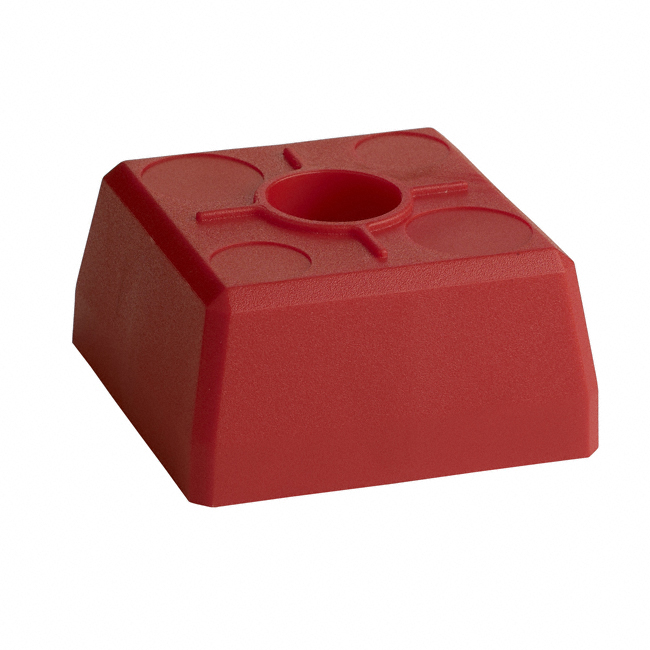
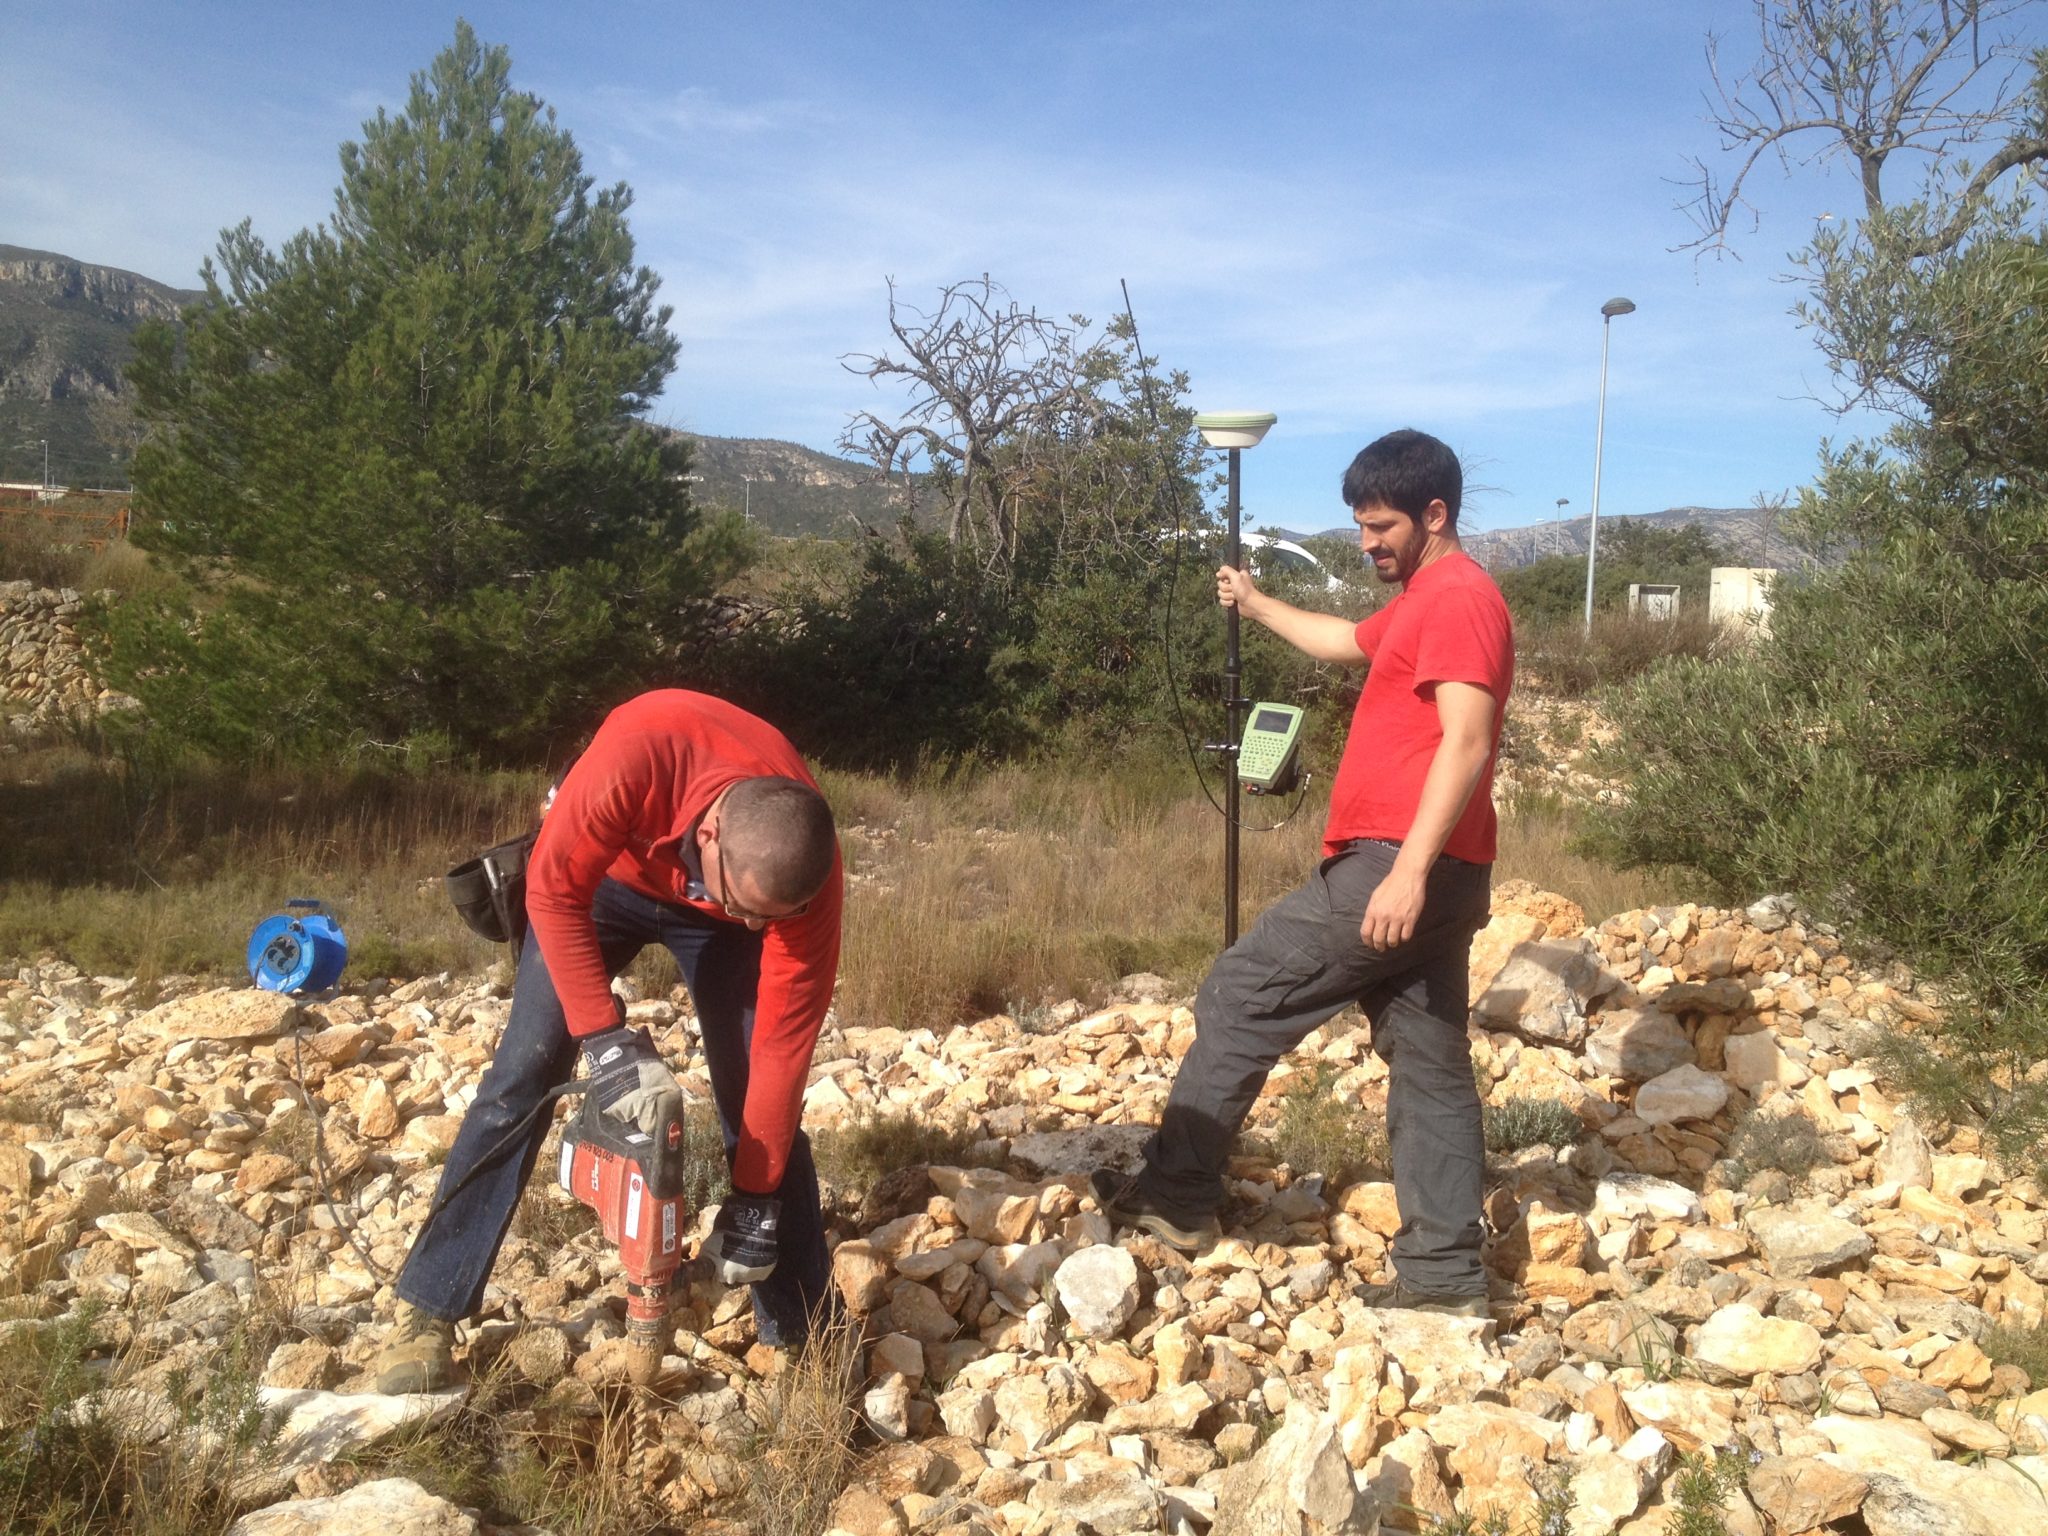
For interior lots, a good option is FENO-type stakes, available in various sizes and materials (plastic, resin, concrete, iron…). These stakes feature a system of metal spikes that expand underground and secure them reliably. When the ground is soft, there will be no trouble driving them in with a mallet, but if the ground is a mix of gravel and rock, a mallet won't suffice, and a stake will require a powerful drill and a generator to be installed in the ground.
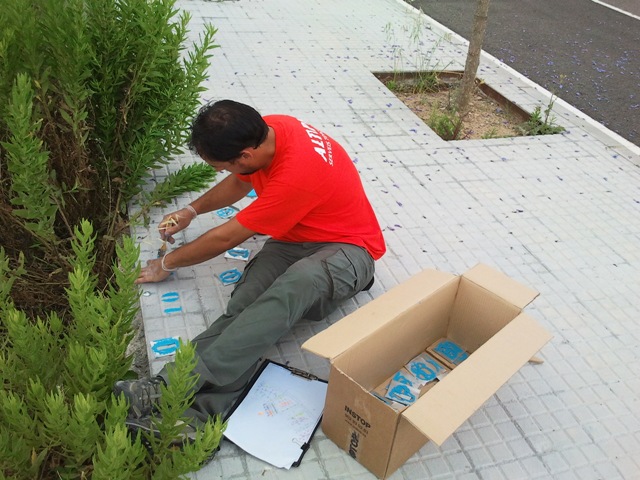
Once all the markers have been placed, they will need to be labeled to make them easier for future owners to locate.
Once the staking work is complete, it is advisable to prepare a plan for each parcel, with annotations of its geometry and area, and a list of absolute coordinates, so that if this plan falls into the hands of the new owner, they can lay out their construction with great precision, thus avoiding potential headaches in the future.